Now more than ever is the perfect time to try out some DIY! As a result, I thought I would finally try my hand at some tie dye. I love all the bright colors and “hippie” fashion.
The only problem was, I don’t know anything about tie dye! I had done it once years before, and it was super fun, but the result was less than stellar. I want festival worthy colors – so I did a lot of research! Here is what I learned.

First, supplies! I use a Tulip Tie-Dye Kit. You can find it HERE. Included in the kit is the dye in bottles, rubber bands, gloves, a tarp to cover your tie dyeing surface and some basic instructions.
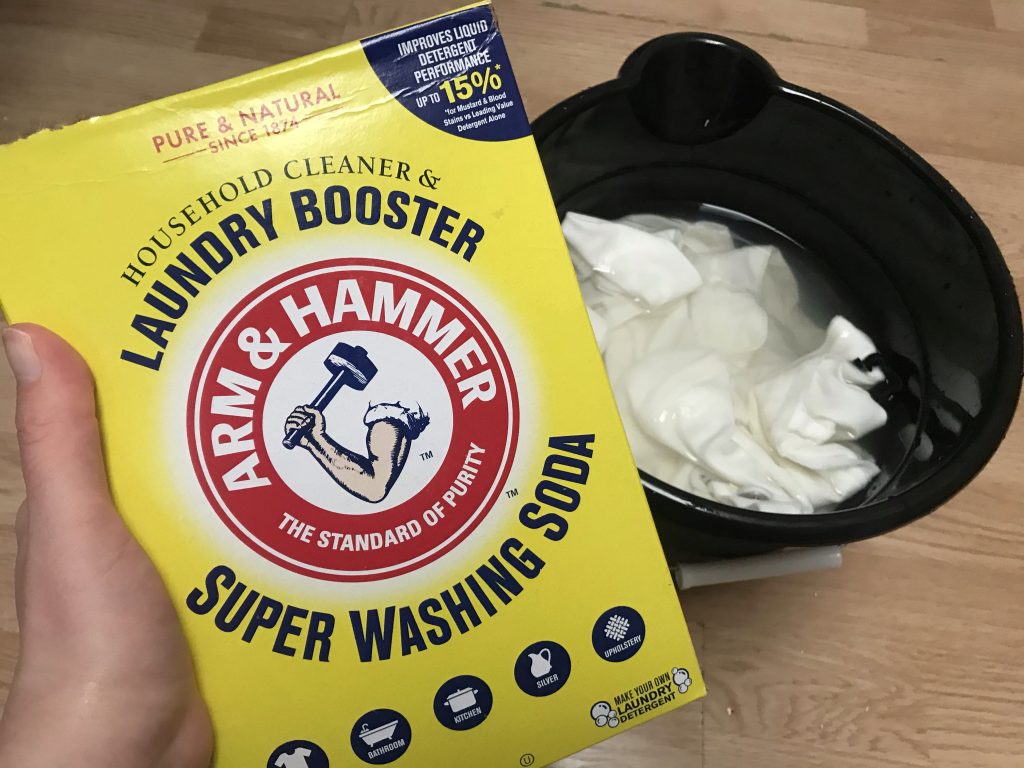
Aside from the kit, I also had a large bucket, Arm & Hammer Super Washing Soda (buy HERE) and some white clothing. It is important that the clothing be 90-100% natural fibers (cotton, rayon, hemp etc) in order to get bright results.
First of all, it is super important to wash your clothing before you dye it! Especially if it is brand new – you need to wash out any chemicals from manufacturing that may interfere with the tie dying process. Wash them with soap as you normally would, no need to dry if you’re dying them the same day.
After washing, the clothing can go right into a bucket with washing soda-water solution. One cup washing soda dissolved per one gallon of water (temperature cold to lukewarm). Soak each piece of clothing for at least five minutes. Washing soda is just one more important step to help you get the brightest colors possible!
Next, plan your designs! Follow YouTube tutorials (some I tried HERE) and fully saturate your clothing. Don’t skimp on the dye! Would you rather have a bunch of mediocre pieces or a few truly badass ones?!
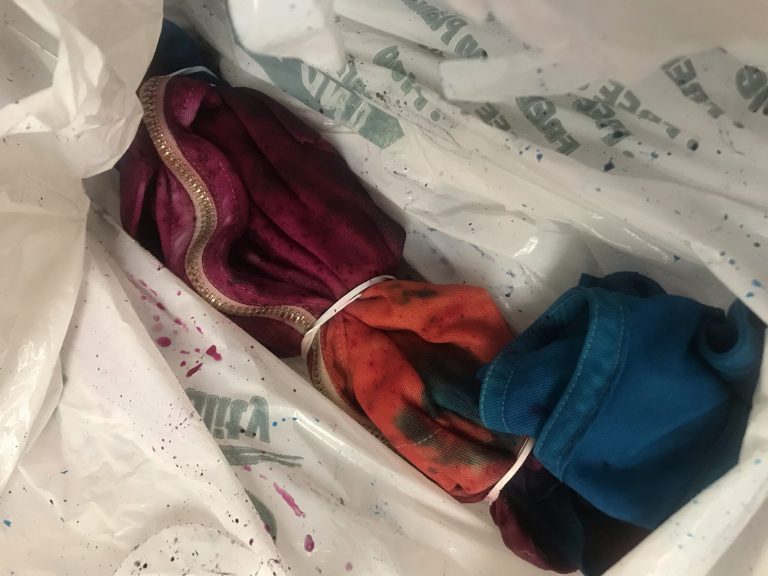
Once you have applied the dye, place each piece in its own plastic bag. I used old grocery sacks for this – you may want to double bag in case of leakage! Let them sit at least overnight, preferably in a warm spot (I put mine on my gas stove top, which stays warm even when off). The warmth and extended time period helps the dye set and produce bright results. I know you want to see the finished result NOW, but try to resist. Patience, young Padawan!

Finally, after waiting AT LEAST overnight, rinse your pieces out in the sink. Rinse until the water runs relatively clear. Then they can all go into the washing machine together, no worries of colors bleeding. Wash and dry as usual.
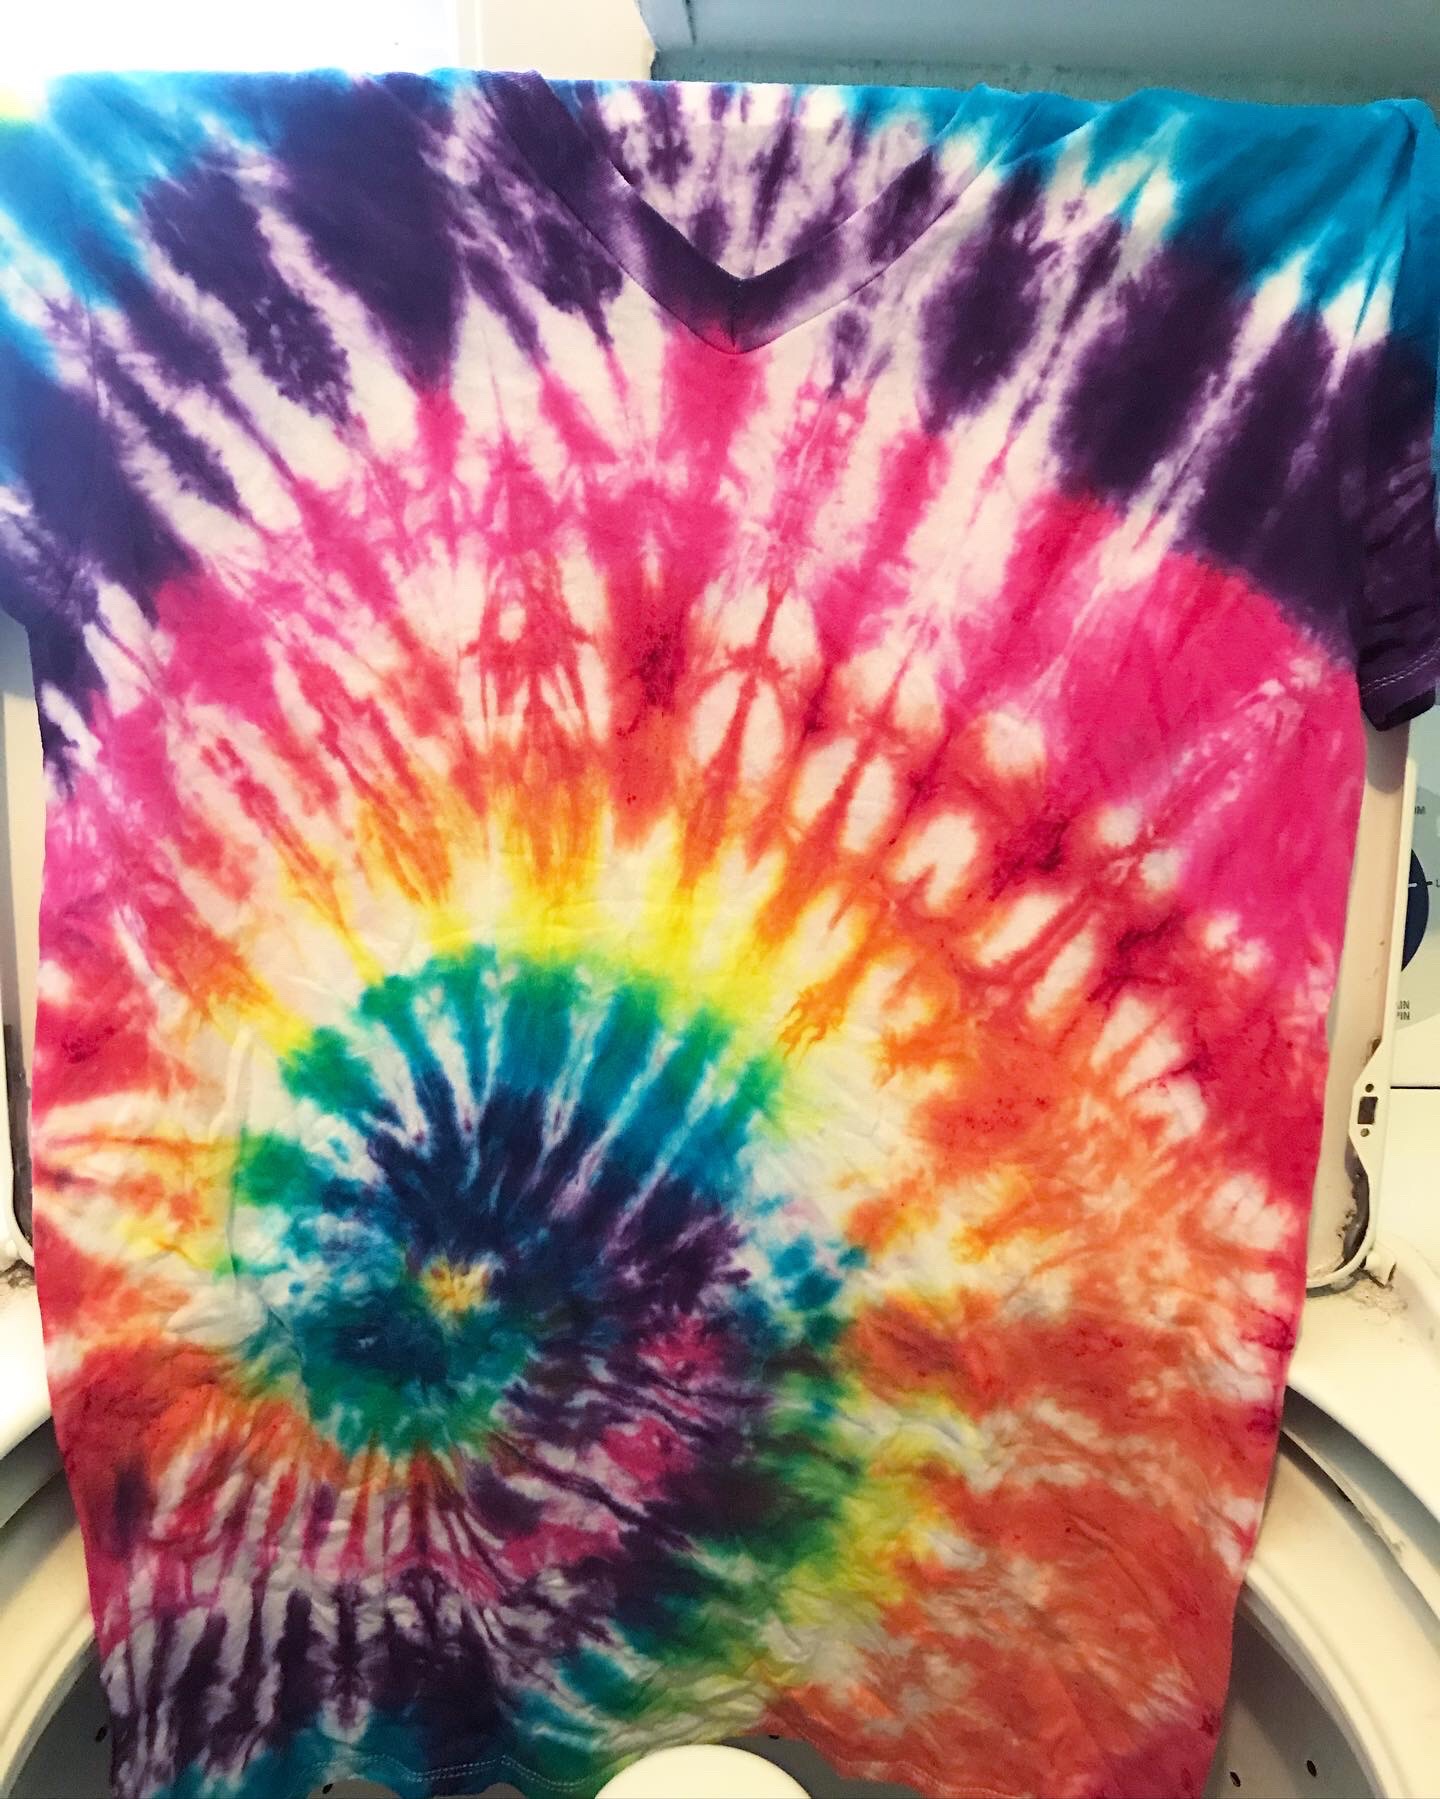
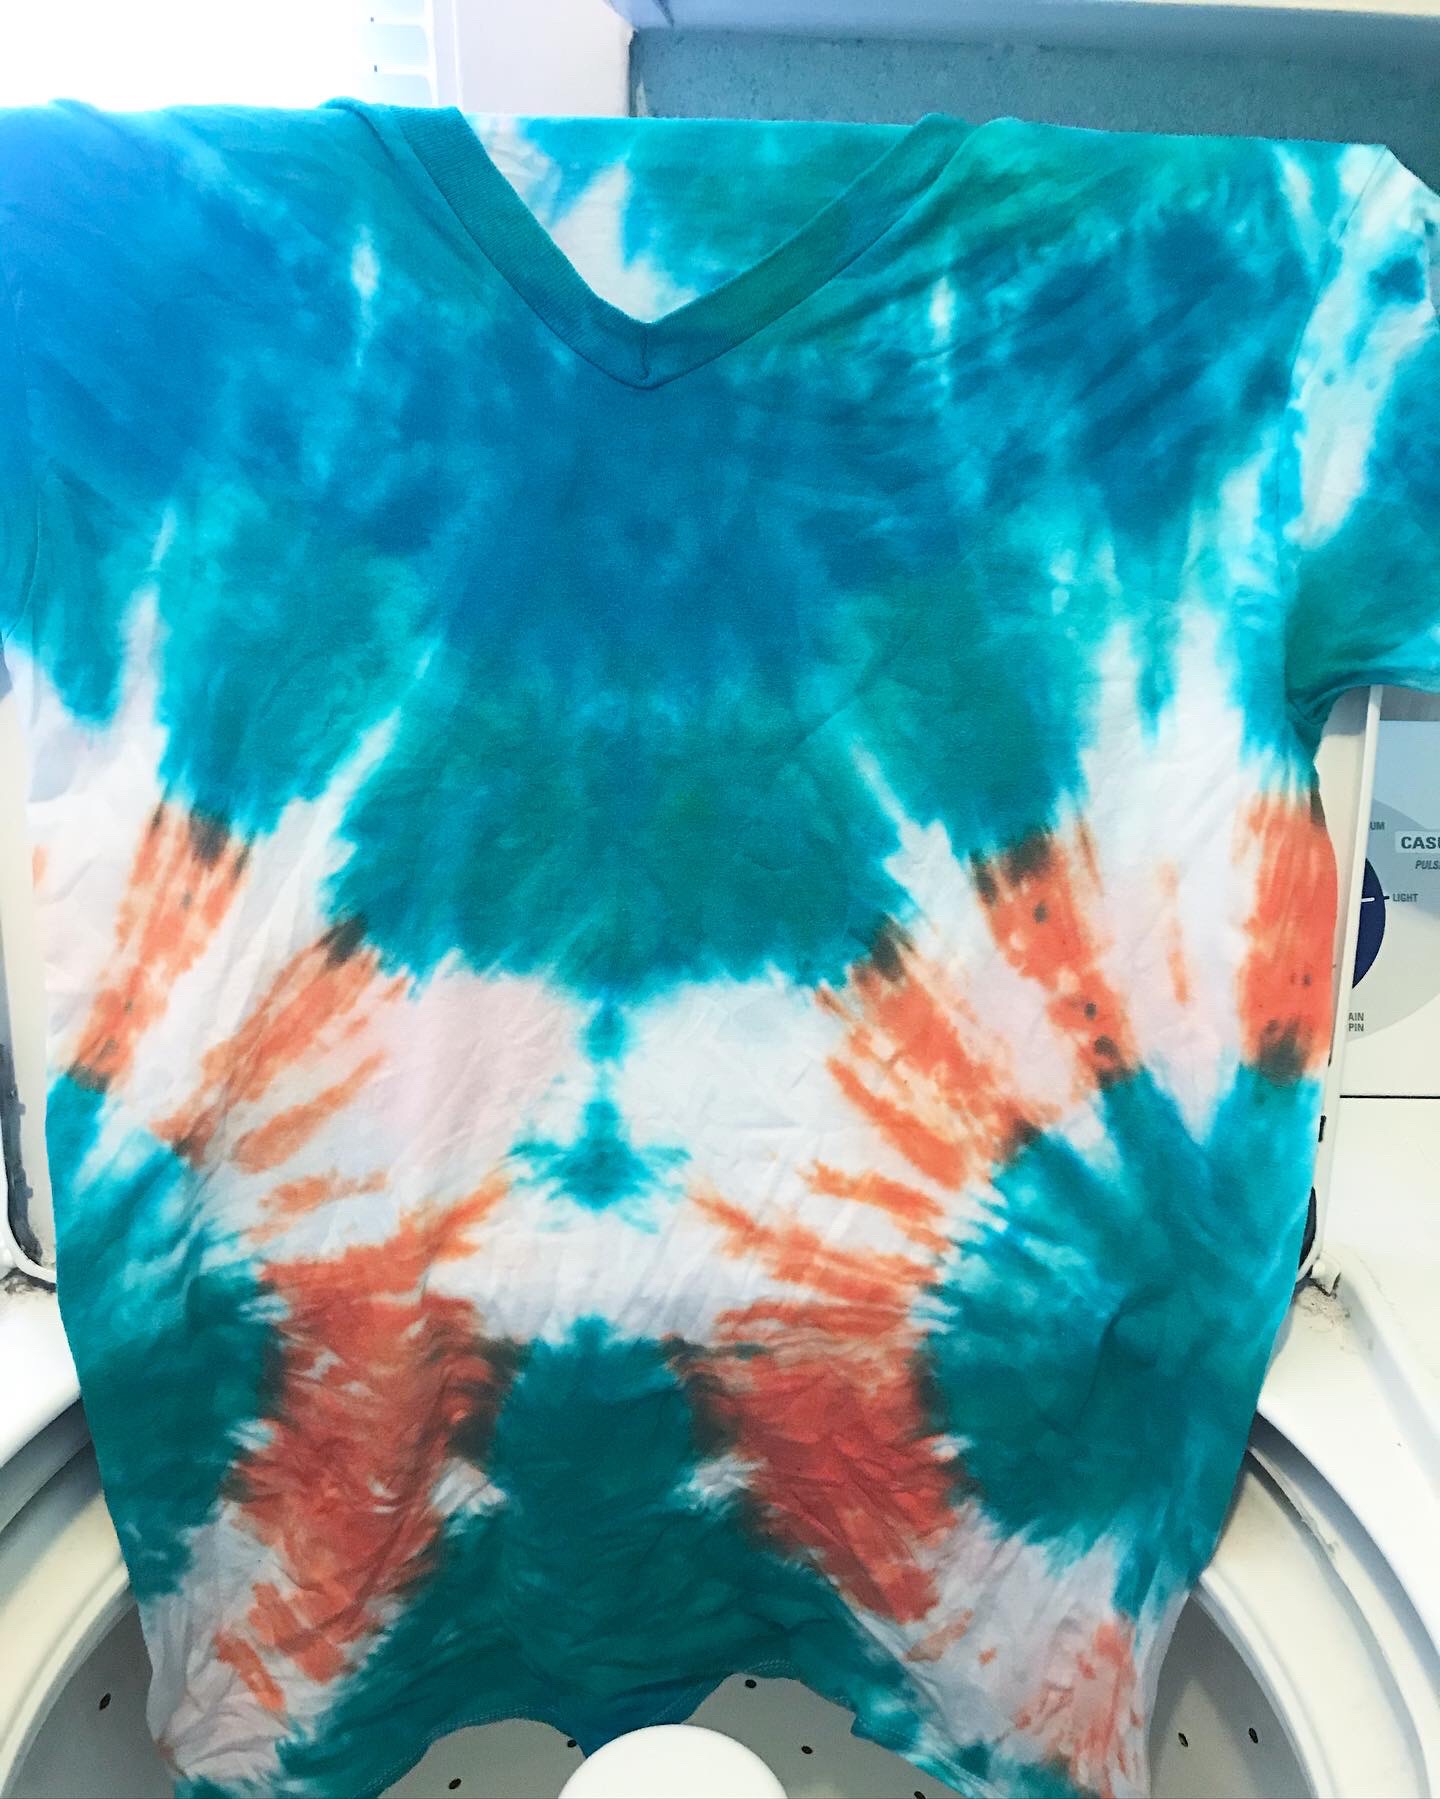
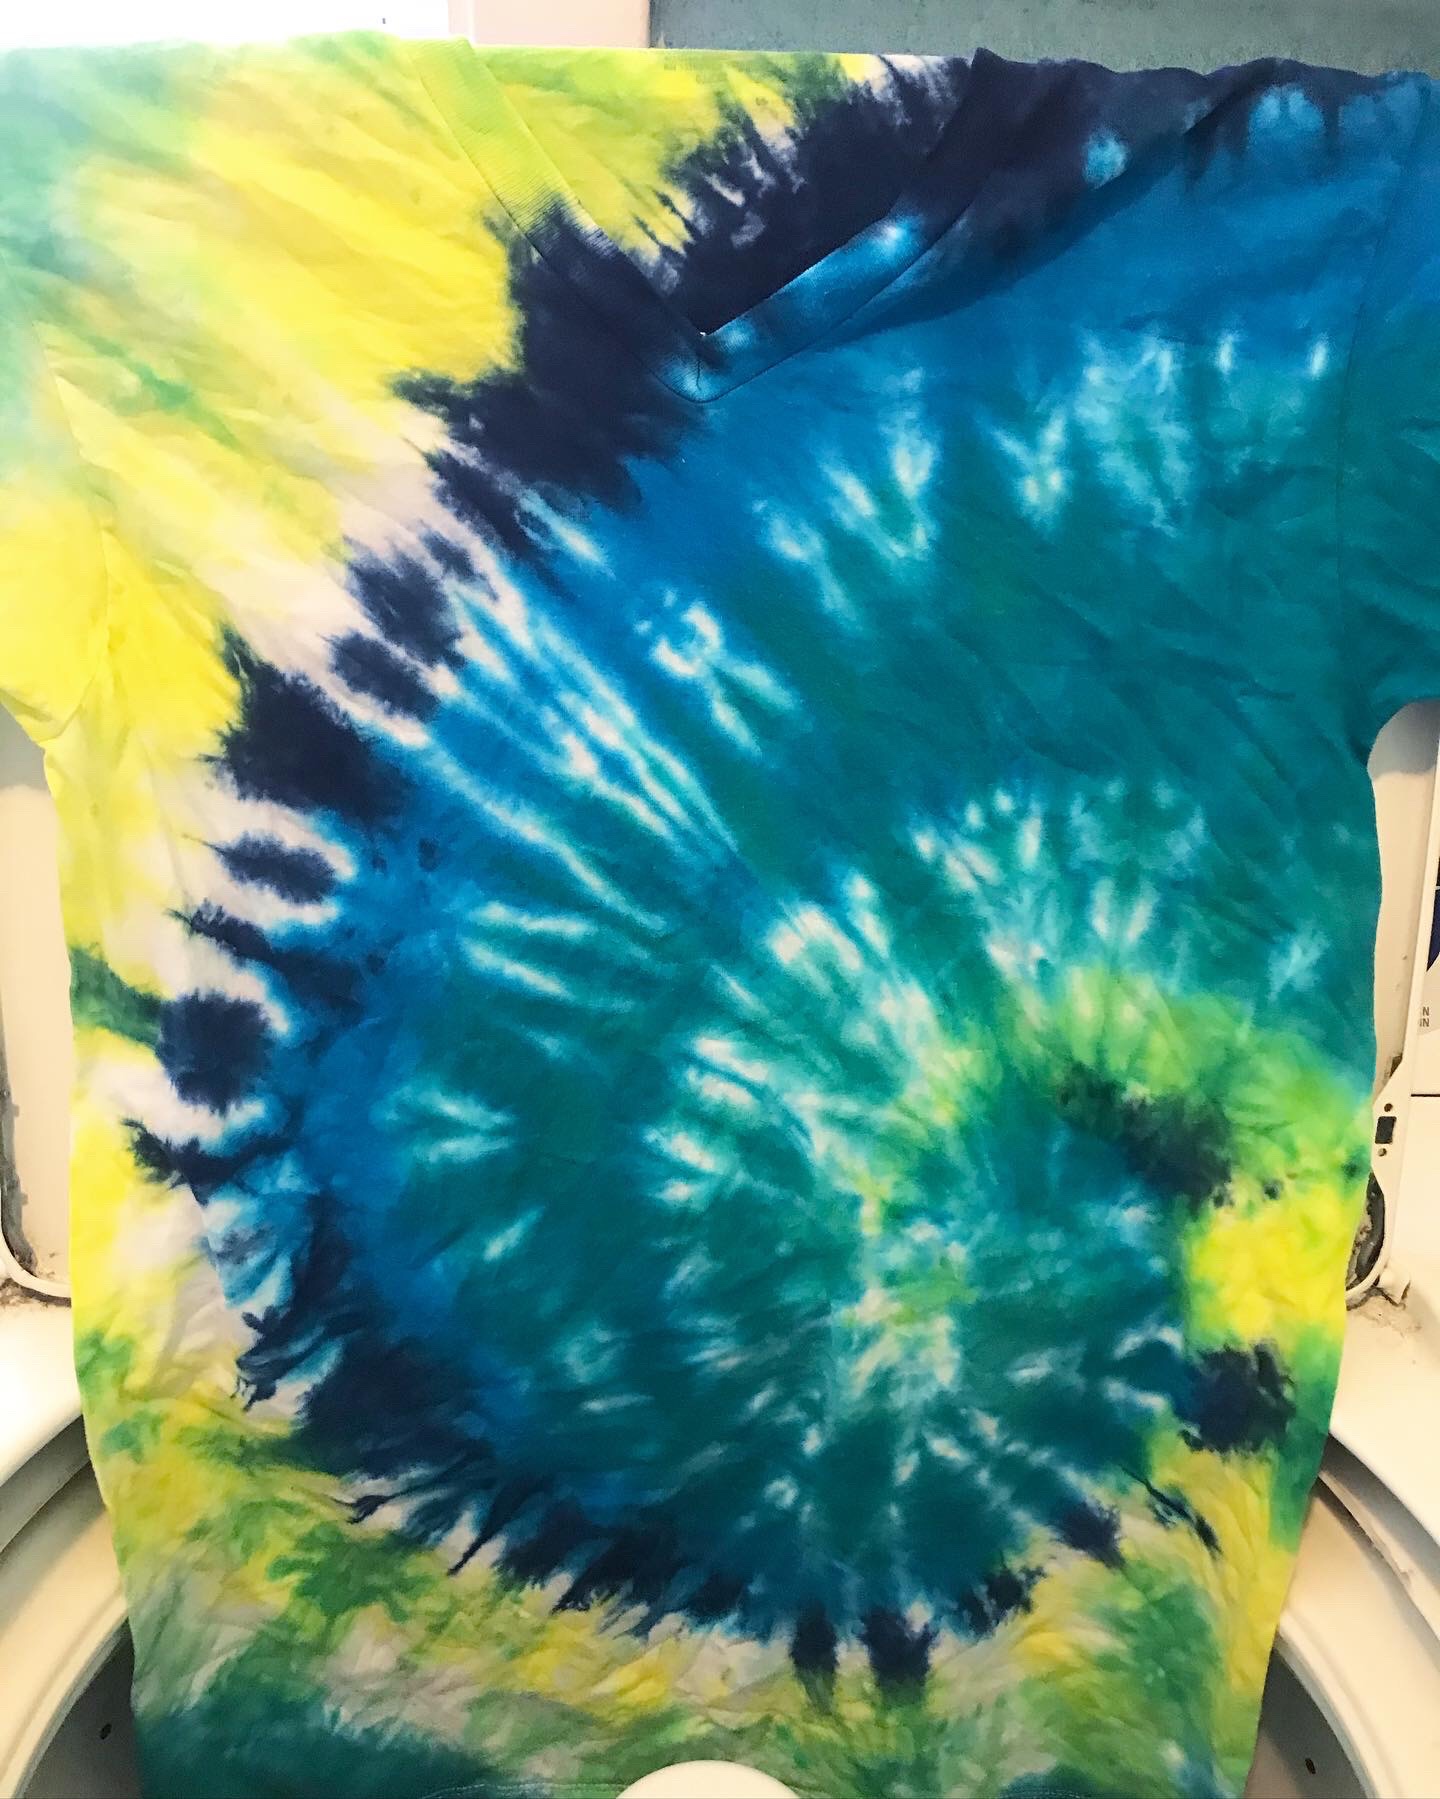
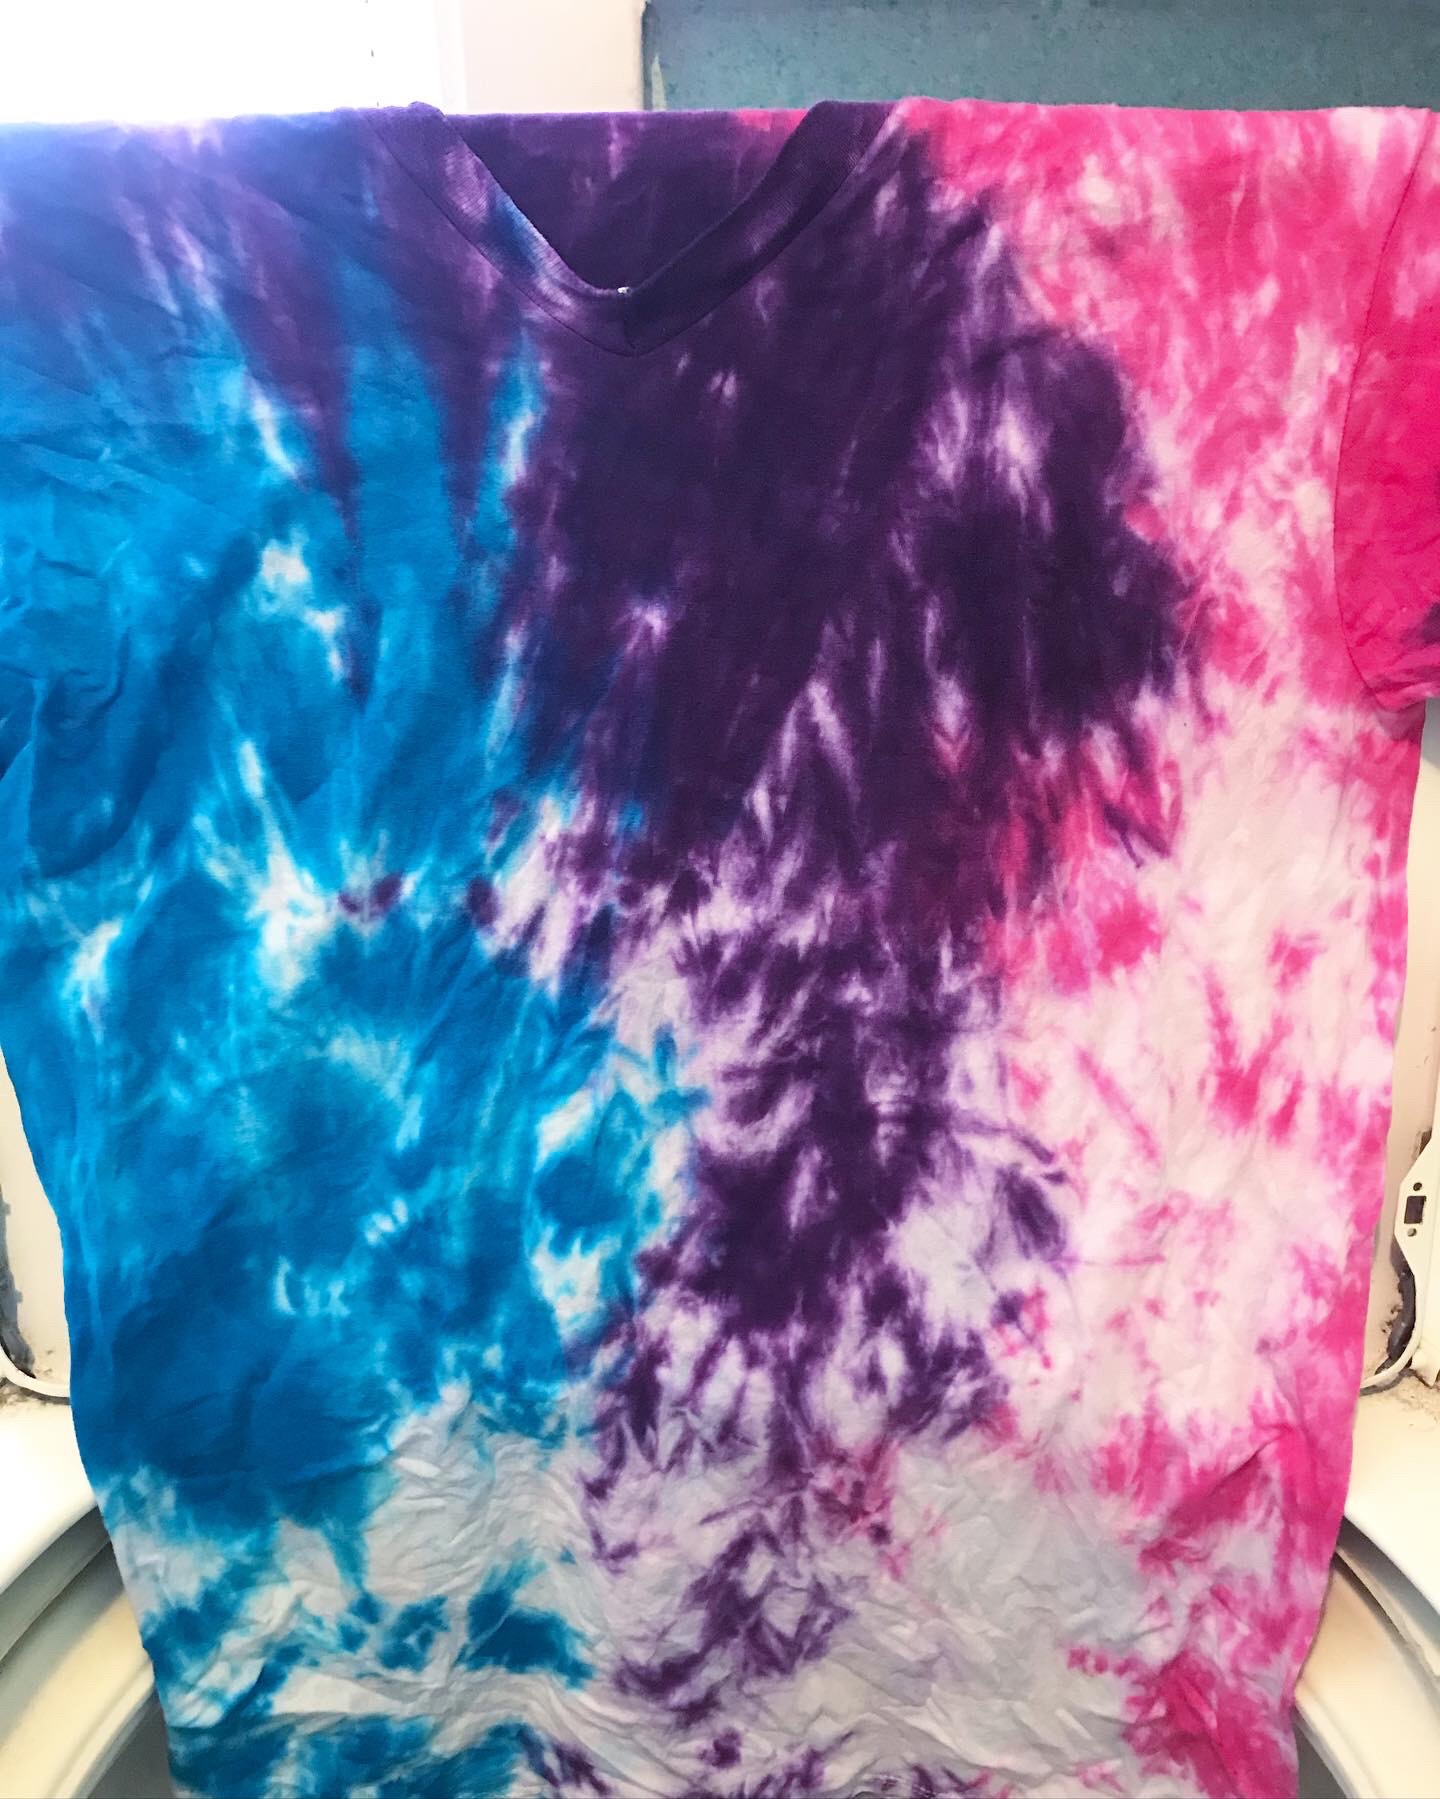
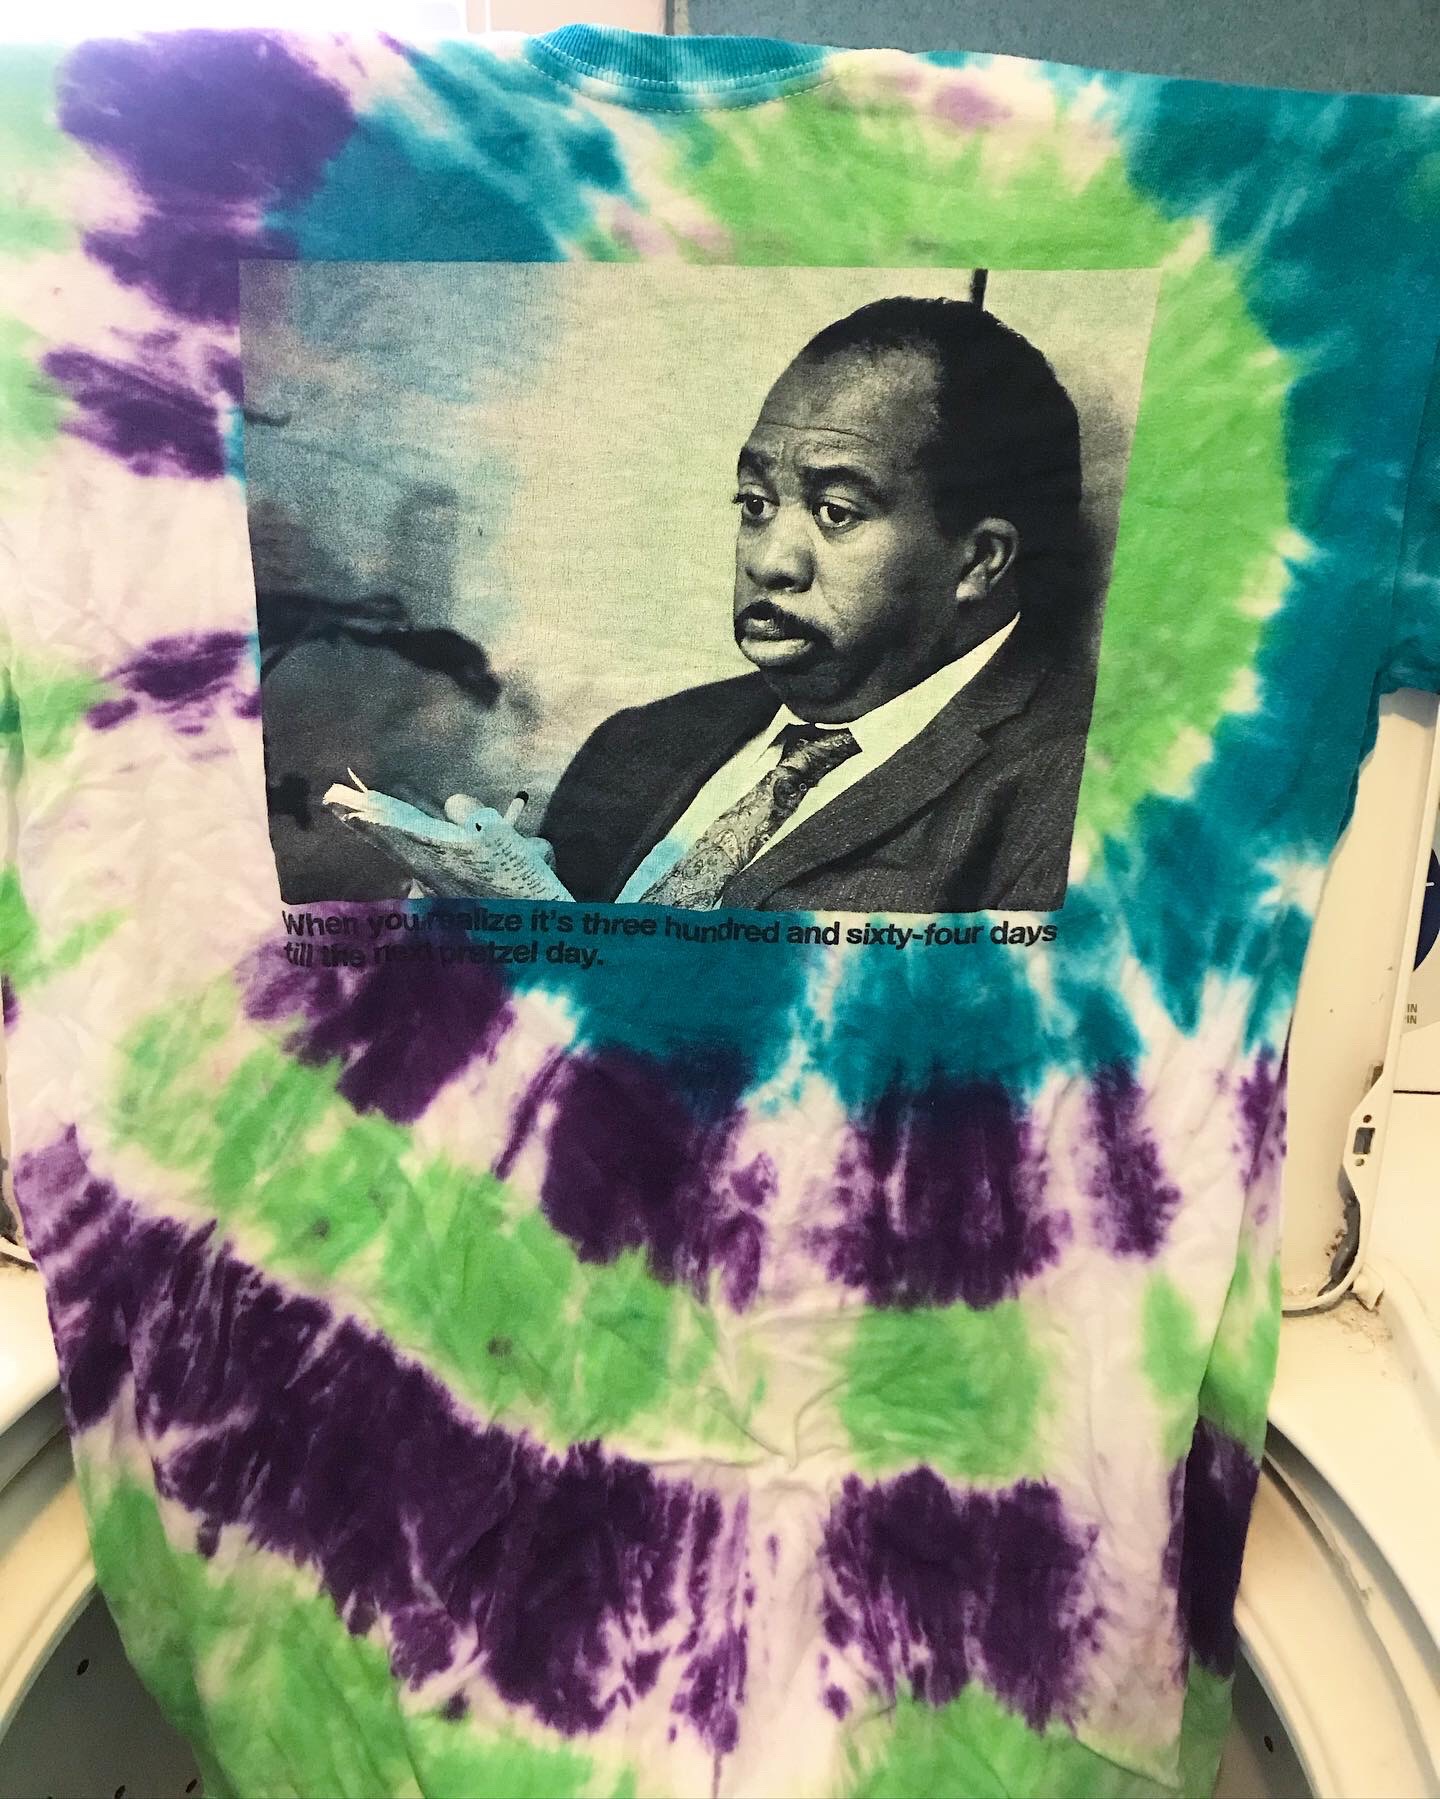
Tada! Bask in the glory of your creations.

Since learning all of this I have tie dyed underwear, dresses, skirts, bodysuits etc. The world is your oyster!! What color combo do you want to try??